Spring Tablescape Checklist: Printable Setup for Hosting
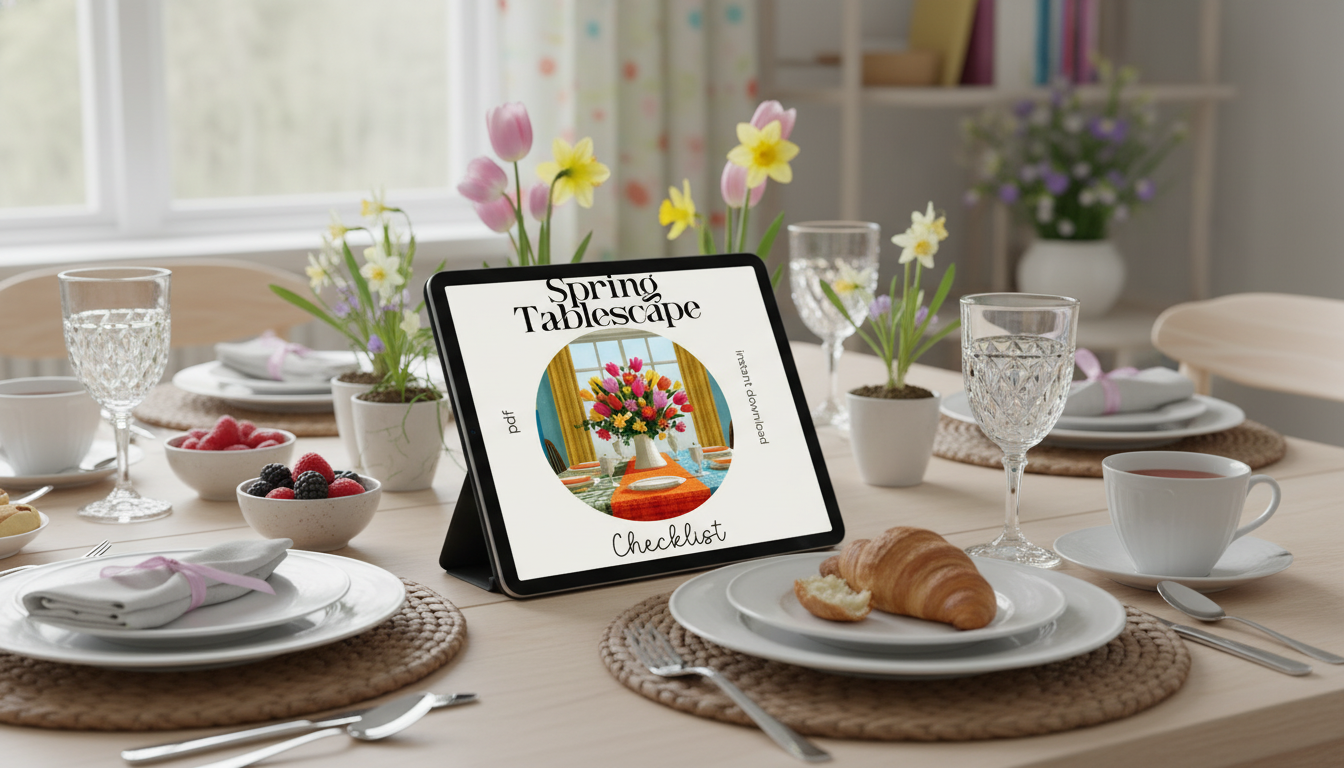
Spring Tablescape Checklist: A Printable Guide to Elegant Table Settings
A spring table feels effortless when every layer is planned: linens, place settings, florals, and lighting working together. A printable checklist keeps the details organized so the table looks cohesive, seasonal, and guest-ready—without last-minute scrambling.
What makes a spring tablescape feel “finished”
A “finished” tablescape usually isn’t about having more items—it’s about having the right items working in harmony. A few simple guardrails make the whole table feel intentional.
- A clear palette: Choose 2–3 main colors plus one metal (gold, brass, or silver) and repeat it throughout for consistency.
- Layering in the right order: Build from base linens → dinnerware → glassware → flatware → accents → florals → candles so nothing gets shifted after it’s set.
- A repeating detail: Tie the table together with one “signature” element (a napkin ring style, a single bloom type, or a consistent stemware shape).
- Enough negative space: Leave room for plates, elbows, and conversation—decor should frame the meal, not compete with it.
What’s included in the Spring Tablescape Checklist (digital download)
This printable is designed for real hosting: it organizes decisions so your table reads as one cohesive look instead of a collection of separate finds.
- A room-to-table planning flow: Helps align colors, textures, centerpiece height, and lighting so nothing feels mismatched.
- A complete itemized checklist: Covers each layer—linens, dinnerware, glassware, flatware, centerpieces, and finishing touches.
- A “shop the house first” prompt: Encourages reusing everyday pieces before buying anything new.
- A setup sequence: Reduces rework (so runners and placemats aren’t being adjusted after the table is already full).
| Layer | What to gather | Easy spring upgrade |
|---|---|---|
| Base | Tablecloth or runner, placemats/chargers | Add a woven texture or a soft pastel runner |
| Place setting | Dinner plate, salad plate/bowl, napkin | Tie napkins with ribbon or fresh greenery |
| Glassware | Water glass, wine glass or coupe | Use matching glass shapes even if colors vary slightly |
| Flatware | Forks/knives/spoons, serving pieces | Polish or mix metals intentionally (one metal per setting) |
| Centerpiece | Vase(s), floral stems/greenery, optional fruit | Use a low arrangement for conversation-friendly height |
| Lighting | Candles, taper holders, matches/lighter | Mix tapers + tea lights for dimension |
| Finishing touches | Place cards, menu cards, small favors | Add one paper element for a “hosted” feel |
If you’d like a ready-to-print version, you can find it here: Spring Tablescape Checklist | Printable Digital Download.
A simple styling formula: base + structure + softness + sparkle
When you’re making quick decisions (especially right before guests arrive), this four-part formula keeps the table elevated without overthinking it.
- Base: Pick one calm foundation (white, ivory, natural linen, pale gingham) so spring colors don’t look busy.
- Structure: Repeat a shape to create order—round chargers, oval platters, or matching napkin folds.
- Softness: Add spring cues with florals, herbs, or airy textures like gauze napkins, rattan, or light wood.
- Sparkle: Use a controlled touch of shine (glass candlesticks, metallic flatware, reflective trays) to lift the whole scene.
Color and theme ideas that work for most spring occasions
- Garden brunch: White + sage + butter yellow; tulips, ranunculus, or simple greenery.
- Easter or family lunch: Soft pastels (blush, mint, sky) with one neutral to keep it elegant.
- Spring dinner party: Crisp white + black accents + a single floral color (coral, lavender, or peony pink).
- Outdoor patio table: Natural textures (rattan, seagrass) with citrus, olive branches, or wildflowers.
For classic placement guidance that still leaves room for creativity, reference the etiquette basics from Emily Post Institute or browse inspiration from Martha Stewart.
Step-by-step setup sequence (fast, tidy, and photo-ready)
- Start with linens and alignment: Center the runner and confirm chair spacing so each setting lands evenly.
- Place chargers or placemats first: Then add dinner plates; keep a consistent distance from the table edge.
- Add flatware and glassware: Do this before decor so spacing remains functional.
- Build the centerpiece last: Keep arrangements low, or use multiple bud vases for easy conversation.
- Finish with details: Add napkins, place cards, and candles; light candles right before guests arrive for a clean burn and fresh look.
Centerpiece tips that look elevated without feeling fussy
- Choose one “hero” element: A floral variety, a fruit color (lemons, oranges), or a single statement vase.
- Keep height guest-friendly: Low arrangements work for most tables; if you go taller, keep it airy so sight lines stay open.
- Use odd numbers: Group in threes or fives—3 bud vases, 5 tea lights, or 3 clustered vessels read naturally balanced.
- Repeat one detail at each place: A tiny sprig on the napkin, a matching ribbon, or a mini bloom makes the whole table feel “designed.”
Printing and use tips for the checklist
Common tablescape problems and quick fixes
Download the Spring Tablescape Checklist
Hosting overnight guests this season too? A polished guest room pairs beautifully with a hosted table—consider a statement piece like this: Twin Size Upholstered Bed with LED Lights and Crown Headboard.
FAQ
What paper size works best for the printable checklist?
Standard US Letter (8.5×11) works best for most home printers. It’s also A4-friendly—use your printer’s scaling option (like “Fit to page”) if needed.
How do you set a spring table that feels elegant but not overdecorated?
Keep a limited palette, choose one focal centerpiece, and prioritize usable spacing for plates and glasses. Repeat one small detail (like a napkin tie or bloom) across settings to make it feel cohesive without adding clutter.
What’s the easiest centerpiece for a spring brunch?
Use a trio of bud vases with seasonal stems or simple greenery, then add a few candles for height and glow. It looks intentional, stays conversation-friendly, and takes just a few minutes to assemble.


Leave a comment