Cut & Blend Human-Hair Wigs with Thinning Shears
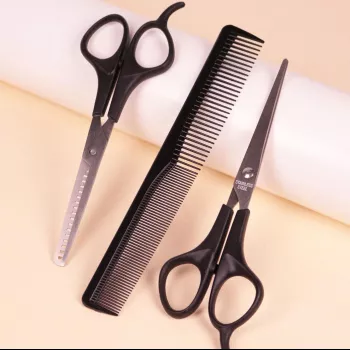
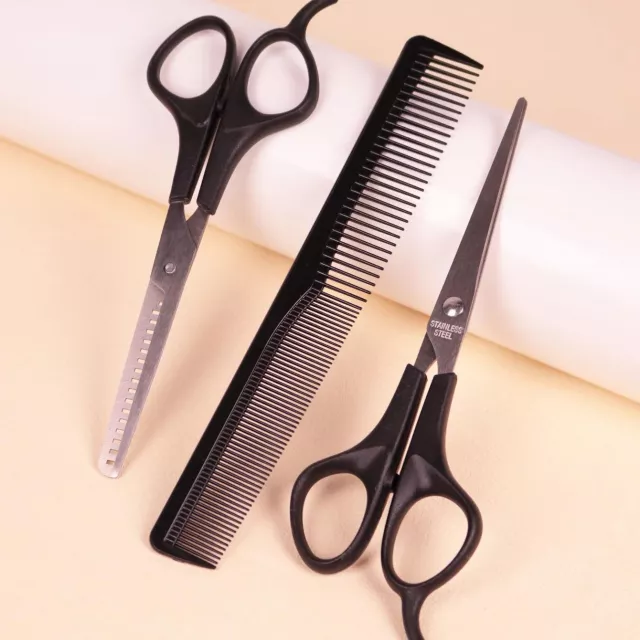
Professional Hair Thinning & Styling Scissors Set for Real Hair Wigs
A clean, natural-looking wig cut depends on the right tools and technique. A thinning-and-styling scissor set helps remove bulk, soften blunt lines, and shape human-hair wigs without creating harsh steps or frayed ends—when used with light tension, small sections, and consistent blending.
What This Scissors Set Helps You Achieve on Human-Hair Wigs
Human-hair wigs can look incredibly realistic, but factory cuts often read as “fresh out of the box”: heavy ends, a solid perimeter, and too much density in the wrong places. A thinning-and-styling set gives control over how the hair sits and moves while keeping changes gradual.
- Debulks dense areas (especially around the nape, behind ears, and lower perimeter) to reduce the “helmet” look
- Softens blunt factory ends for a more natural, worn-in finish
- Blends face-framing layers and fringe so they move like natural hair
- Refines shape after washing, styling, or cap adjustments without committing to a full haircut
- Creates subtle texture while keeping overall length intact
If you’re looking for a simple, budget-friendly tool to start customizing at home, see the Professional Hair Thinning & Styling Scissors Set for Real Hair Wigs.
Thinning Shears vs. Regular Styling Scissors: When to Use Each
Using the right scissor at the right moment is what keeps a wig cut from looking “chewed” or uneven. Regular scissors create a clean edge; thinning shears remove weight in a softer, blended way.
- Use regular scissors for clean perimeter work: trimming length, point-cutting ends, and shaping bangs
- Use thinning shears to remove weight gradually and disguise cut lines, especially on mid-lengths and ends
- Avoid heavy thinning close to knots, lace fronts, or high-tension areas to reduce shedding risk
- For curly or wavy wigs: thin less and focus on ends; over-thinning can cause uneven clumping
- For very fine-density wigs: prioritize micro-trims and minimal texturizing to preserve fullness
Quick Guide: Tool Choice by Goal
| Goal | Best Tool | Placement Tip | Common Mistake to Avoid |
|---|---|---|---|
| Remove bulk without losing length | Thinning shears | Mid-lengths to ends, small sections | Closing shears repeatedly in the same spot |
| Clean up uneven ends | Regular scissors | Point-cut the perimeter lightly | Straight horizontal cut that looks too blunt |
| Blend face-framing layers | Thinning shears (light) + regular scissors | Start farther from the hairline and blend outward | Thinning too close to the hairline or part |
| Shape bangs/fringe | Regular scissors | Cut dry, snip vertically for softness | Cutting wet bangs too short after drying |
| Reduce puffiness at nape | Thinning shears | Work under-layers first | Thinning the top layer and exposing tracks/wefts |
Safe Prep Before Cutting a Real Hair Wig
A little prep prevents most cutting mistakes. The goal is stability (so your lines stay even) and consistent tension (so you don’t remove more than intended).
- Secure the wig on a canvas block head with pins placed outside lace/knots whenever possible
- Detangle gently from ends to roots; knots and tangles can cause uneven cuts and snagging
- Decide wet vs. dry: dry cutting is safer for precision; lightly damp can help manage flyaways but may shrink/shift when dry
- Mark a conservative guide length and check symmetry from multiple angles
- Set expectations: remove weight slowly, step back often, and stop early rather than chase perfection
If you notice more shedding than usual while detangling or styling, it’s worth reviewing basic shedding and hair-loss fundamentals from the American Academy of Dermatology Association, then adjusting your handling habits (less tension, fewer passes, and gentler detangling).
Step-by-Step: Debulk and Blend Without Choppy Lines
This approach prioritizes a smooth surface layer (what everyone sees) while reducing weight underneath (what makes a wig look bulky). Work slowly—human-hair wigs can be customized beautifully, but you can’t “undo” removed density.
- Start underneath: Lift top layers and thin the under-layers first to preserve a smooth surface.
- Section consistently: Work in small, even sections; keep the same elevation and hand position for balanced blending from side to side.
- Use one controlled closure: With thinning shears, close once per section, then comb through and reassess before doing another pass.
- Angle away from the base: Keep distance from roots and lace areas to protect knots and reduce visible thinning.
- Soften the outline: Refine the perimeter with point-cutting using regular scissors to create a natural edge instead of a stamped line.
- Check movement: Comb through, shake the hair gently, and style as usual—then do only micro-adjustments (a few snips at a time).
For a deeper foundation in blending and texturizing concepts, cosmetology references like Milady cover the “why” behind techniques (elevation, tension, and sectioning) that translate well to wig work.
Where Not to Thin (Common Wig Trouble Spots)
Wigs have built-in structures—lace, knots, tracks, and cap seams—that don’t behave like hair growing from the scalp. Knowing where to avoid thinning is as important as learning where to thin.
Care and Maintenance for Smooth Cutting
Who This Set Is Best For
Shop In-Stock Picks
- Professional Hair Thinning & Styling Scissors Set for Real Hair Wigs
- Men’s Genuine Leather Cowboy Belt with Copper Buckle for Jeans
FAQ
Can thinning shears ruin a real hair wig?
They can if used too close to the roots, lace, or repeatedly in the same spot. Keep thinning on mid-lengths and ends, take small sections, and make one pass before reassessing.
Is it better to cut a human-hair wig wet or dry?
Dry cutting is usually safer for precision and symmetry. Slightly damp hair can be easier to control, but length and shape may change after drying—especially with wave or curl.
How do you avoid choppy layers when thinning a wig?
Thin the under-layers first, keep consistent elevation, and avoid multiple closures in the same area. Finish with light point-cutting to blur the perimeter and soften the outline.


Leave a comment