Dial In Espresso at Home: 30 Grinds + Milk Frother
Semi-Automatic Espresso at Home: Control the Shot, Steam the Milk, Repeat
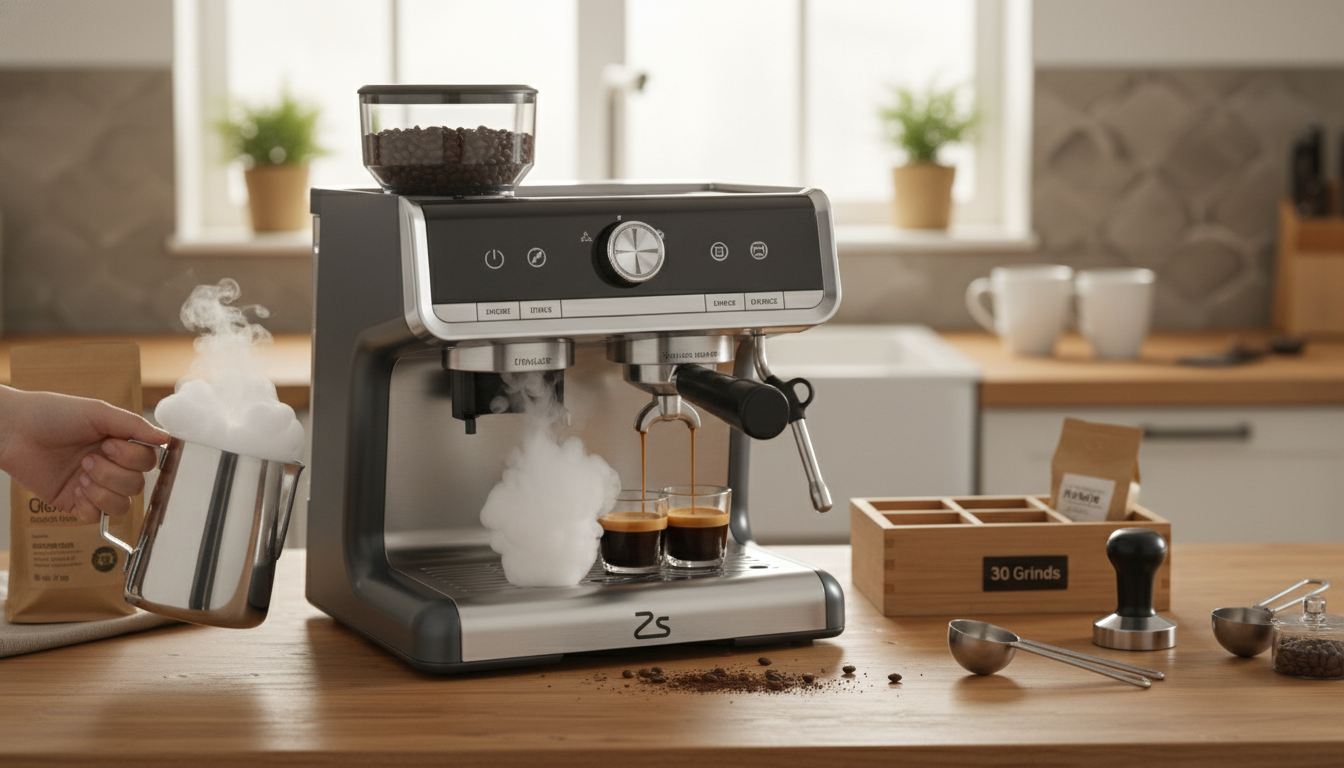
A semi-automatic espresso setup shines when it offers hands-on control without turning every drink into a science project. With built-in grinding adjustments and a dedicated milk frother, this style of machine helps fine-tune flavor, texture, and consistency—whether pulling a quick morning double or practicing latte art on weekends. The sweet spot is simple: enough control to improve quickly, with a workflow that still feels realistic on a busy day.
What This Machine Is Built to Do
A semi-automatic espresso machine with a milk frother and wide grind range is designed to cover the whole café-style routine in one footprint.
- Combines espresso brewing with a milk frothing system so cappuccinos, lattes, and flat whites are possible without separate appliances.
- Offers 30 grind settings to help match grind size to bean type, roast level, humidity changes, and desired shot timing.
- Semi-automatic workflow supports control over dose, grind, tamp, and extraction time while keeping the process approachable.
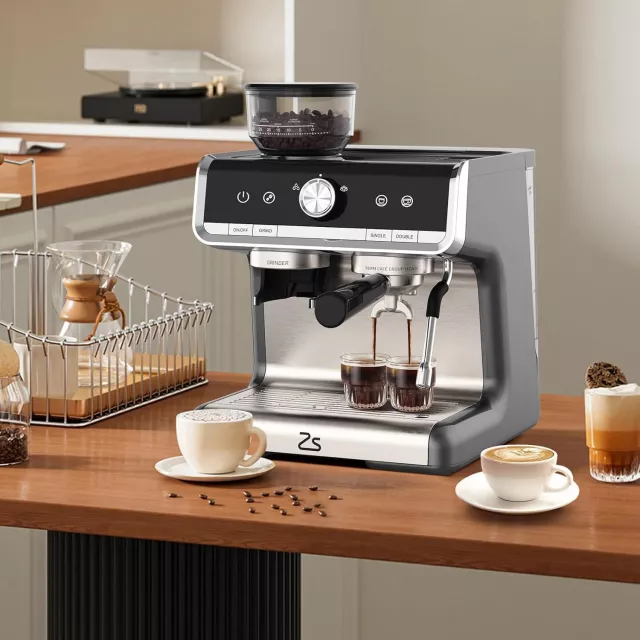
If you’re looking for a single setup that lets you learn and improve without locking you into presets, check out the Semi-Automatic Espresso Machine with Milk Frother and 30 Grind Settings.
Highlights That Matter Day to Day
The value of multiple grind steps and a dedicated frother shows up in the small moments: when a shot suddenly runs fast, when a new bag of beans tastes sharp, or when milk texture won’t behave.
- 30 grind steps support small, repeatable adjustments when shots run too fast (sour/under-extracted) or too slow (bitter/over-extracted).
- Milk frother enables microfoam for latte art or thicker foam for cappuccinos depending on technique.
- Semi-automatic controls encourage consistency: once the grind and dose are set, it’s easier to repeat good results.
- Practical for households that want both straight espresso and milk drinks without upgrading to a fully automatic system.
Quick dial-in targets (starting points)
| Roast level | Grind direction | Shot time goal | Taste cue | Adjustment to try next |
|---|---|---|---|---|
| Light | Finer | 25–35 seconds | Sour, thin | Go finer 1–2 steps or increase dose slightly |
| Medium | Middle range | 25–30 seconds | Balanced but a bit sharp | Go finer 1 step or raise brew ratio slightly |
| Dark | Coarser | 20–28 seconds | Bitter, harsh | Go coarser 1–2 steps or reduce dose slightly |
| Any | Any | Varies | Channeling (spurts, uneven flow) | Improve distribution/tamp; consider slightly coarser grind |
How to Use 30 Grind Settings to Dial In Espresso
A wider grind range is most helpful when it’s used methodically. The goal is to get shot timing stable first, then fine-tune taste.
- Start with fresh beans and a consistent dose; change only one variable at a time (grind first, then dose, then yield).
- Aim for stable shot timing before chasing flavor details; grind size is typically the most powerful lever.
- If the shot runs fast and tastes sour, move 1–2 steps finer; if it runs slow and tastes bitter, move 1–2 steps coarser.
- Re-test after each adjustment; small changes are the advantage of a 30-step range.
- Keep notes for each bean (grind step, dose, yield, time) to return to a known-good setting.
For reference, the Specialty Coffee Association maintains widely used guidance on coffee preparation and evaluation standards at SCA — Coffee Standards. For everyday brewing fundamentals, the National Coffee Association — Brewing Basics is a helpful baseline.
Milk Frothing: From Foamy Cappuccino to Glossy Microfoam
Milk texture is where a built-in frother pays off. Small technique changes can shift your foam from stiff and dry to glossy and pourable.
- Use cold milk and a chilled pitcher for more control; fill to just below the spout start to allow expansion.
- For microfoam: introduce a short “stretching” phase (air) early, then focus on “texturing” (rolling) to polish bubbles.
- For cappuccino-style foam: add slightly more air during the stretching phase, then keep a gentle roll to avoid large bubbles.
- Target a warm, drinkable temperature rather than overheating; stop steaming when the pitcher is hot but still touchable for a moment.
- Purge the steam wand before and after frothing and wipe immediately to prevent baked-on milk.
A simple consistency trick: after steaming, tap the pitcher on the counter and swirl until the milk looks like wet paint—shiny, uniform, and free of visible bubbles.
A Simple Two-Drink Routine (Espresso + Milk Drink)
Building a repeatable routine is the fastest way to get “coffee shop good” results without overthinking every step.
Cleaning and Maintenance That Protects Flavor
Who This Setup Fits Best
In-Stock Picks
- Semi-Automatic Espresso Machine with Milk Frother and 30 Grind Settings
- Men’s Genuine Leather Cowboy Belt with Copper Buckle for Jeans
- Large Dog Slicker Brush & Comb Set for Doodles, Poodles and Long Coats
FAQ
How many grind setting changes should be made at once?
Change 1–2 steps at a time, then pull another shot. Small moves prevent overshooting the sweet spot and make it easier to tell whether the grind change fixed the issue.
Why does espresso taste sour even when the shot time seems normal?
Sourness can come from under-extraction caused by channeling, uneven distribution, low brew temperature, stale beans, or a dose that’s too low. Improve puck prep first, then try a slightly finer grind or a small dose increase.
How can milk be frothed for latte art instead of stiff foam?
Introduce air only briefly at the beginning, then keep the tip positioned to create a strong rolling vortex that polishes the texture into microfoam. Stop before overheating, then tap and swirl the pitcher until the milk looks glossy and pours smoothly.















Leave a comment