Windshield Suction Cup Mount Tips for Action Cams & Gimbals
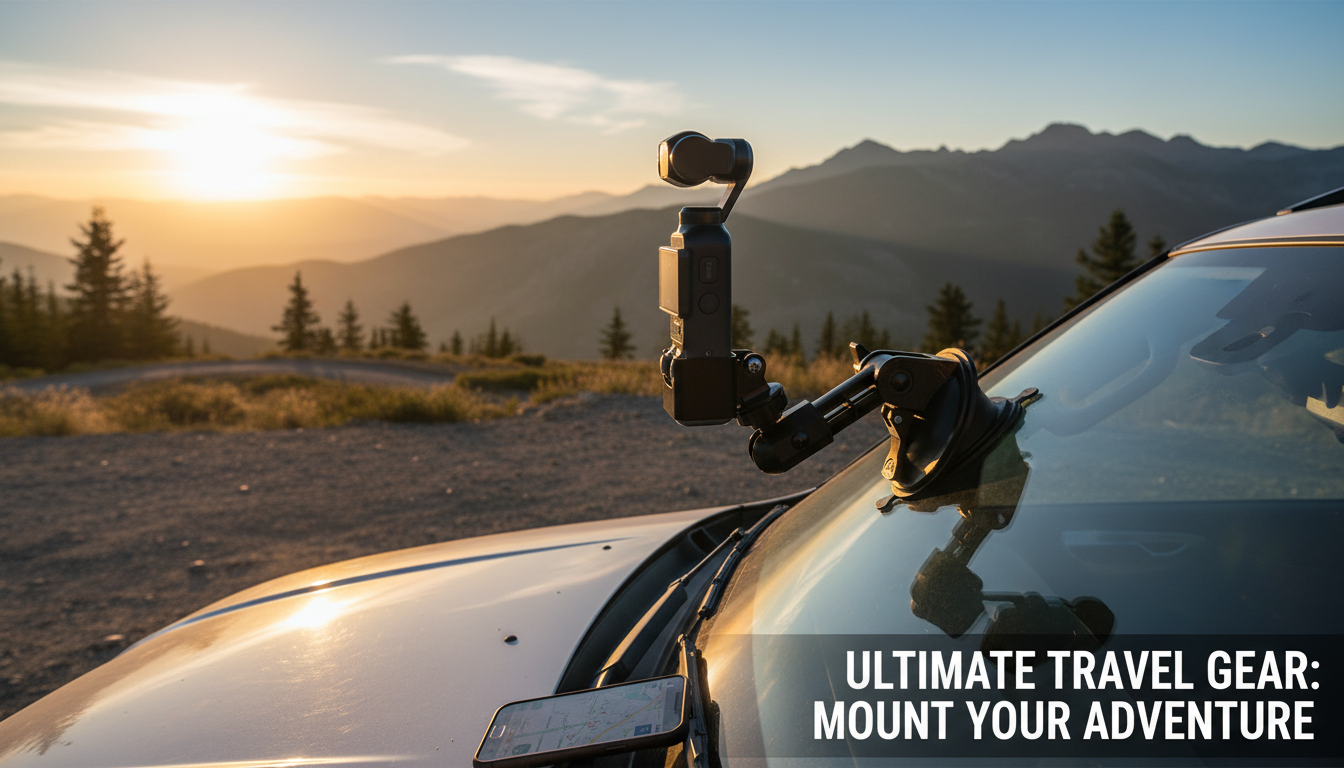
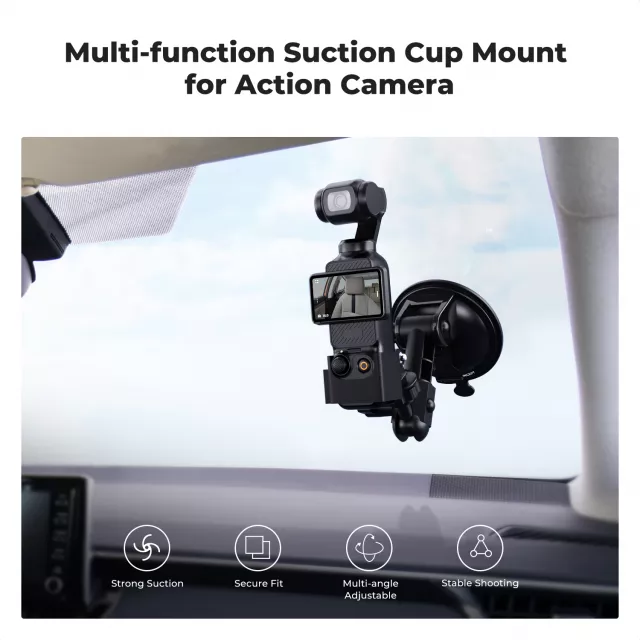
Car Windshield Suction Cup Mount for Action Cameras and Pocket Gimbals
A windshield suction cup mount is a practical way to capture steady driving footage without drilling holes or committing to adhesive pads. When it’s installed correctly on clean glass and kept to a short, rigid setup, it can deliver repeatable angles for road trips, automotive content, or quick in-car B-roll. The key is choosing a mount that matches your camera or gimbal, placing it where it won’t interfere with visibility or vehicle systems, and checking it before every drive.
What This Mount Is Best Used For
- Road-trip and scenic drive recording with an action camera (front-facing or cabin-facing angles).
- B-roll for automotive content: dashboard details, steering shots, and interior perspectives.
- Hands-free capture for pocket gimbals when parked or when filming static shots (never adjust while driving).
- Short-form content workflows: quick attach/detach and repeatable framing between sessions.
- Use cases where a temporary mount is preferred over adhesive or hard-mounted solutions.
For any setup used while the vehicle is moving, prioritize safe placement and a “set it before you drive” routine. For safety context, review NHTSA guidance on distracted driving and avoid interacting with camera gear on the road.
Fit and Compatibility: Cameras, Gimbals, and Threads
Before buying or mounting anything, confirm the interface your device needs. Action cameras often use a 3‑prong action mount, while pocket gimbals and compact cameras commonly use a 1/4″-20 screw thread. Many creators keep a small adapter kit so they can swap devices without redoing the entire mount.
- Match the mounting interface: 3‑prong action mount vs. 1/4″-20 thread is the most common compatibility hurdle.
- Account for total weight: include cages, adapters, microphones, and small lights. Heavier loads generally require stronger suction and shorter extension.
- Keep controls accessible: verify the mount won’t block battery doors, side buttons, or screen tilt once installed.
- Plan for gimbal balancing: keep the device centered and avoid long extensions that increase leverage and vibration.
- Bring the right adapters: action-camera-to-1/4″ adapters are often necessary when switching between devices.
For general compatibility and mounting ecosystem context, it can help to skim the official accessory pages for your device line, such as GoPro mounts and accessories or the DJI Osmo Pocket series.
Stability Factors That Affect Footage Quality
A mount can feel “tight” and still produce jittery video. That’s usually due to leverage, vibration, or camera settings rather than outright slipping. A windshield mount works best when the camera is kept close to the glass with minimal arm extension.
- Arm length and leverage: the farther the camera sits from the windshield, the more vibration shows up in footage.
- Suction cup diameter and material: larger, softer cups generally grip better on clean, smooth glass.
- Locking mechanism: a lever-lock design typically provides more consistent holding force than simple push-on suction.
- Vehicle vibration sources: rough pavement, stiff suspension, and engine harmonics can create micro-jitters.
- Camera settings: stabilization (EIS) and higher frame rates can reduce perceived shake, especially on bumpy roads.
Quick Setup Choices for Common Shooting Angles
| Goal | Mount position | Arm extension | Suggested camera settings |
|---|---|---|---|
| Road view through windshield | High center or passenger side, behind rear-view mirror (avoid sensor obstruction) | Short | Wide/Linear, stabilization on, 30–60 fps |
| Cabin / driver reaction (parked or supervised) | Passenger side windshield angled inward | Short–medium | Linear, stabilization on, 24–30 fps |
| Dash detail / controls (parked) | Low windshield near dash line | Short | Linear, lower ISO, 24–30 fps |
Where to Place It on the Windshield (Safety and Practicality)
Placement affects both safety and shot quality. A mount that blocks your view—or interferes with vehicle systems—turns a simple accessory into a risk. Choose a spot that protects sightlines, avoids airbag zones, and stays clear of the car’s sensor modules.
Installation and Removal Tips for a Reliable Hold
Care, Maintenance, and Longevity
Product Options (In Stock)
- Car Windshield Suction Cup Mount for Action Cameras and Pocket Gimbals — a simple, temporary mounting solution for repeatable driving angles. Best results come from a short arm extension, a clean mounting surface, and a lock check before each drive.
- Men’s Genuine Leather Cowboy Belt with Copper Buckle for Jeans — a durable everyday accessory for travel days when you’re in and out of the car and want a secure, reliable fit.
- Large Dog Slicker Brush & Comb Set for Doodles, Poodles and Long Coats — a handy add-on for road trips with pets to keep shedding and tangles under control during stops.
FAQ
Can a suction cup mount hold securely in hot or cold weather?
Yes, but temperature changes affect cup flexibility and sealing. Clean and dry the glass, warm the cup slightly in cold conditions, and re-check the lock after the car heats up in direct sun.
Where should a windshield-mounted camera be placed to avoid blocking the view?
A common placement is high and near the center—often behind or near the rear-view mirror—as long as it doesn’t block sightlines or interfere with airbags or driver-assist sensors. Always follow local visibility rules and keep the setup out of the driver’s direct field of view.
Why does footage look shaky even when the mount feels tight?
Shakiness often comes from leverage (a long arm), normal vehicle vibration, and suboptimal camera settings. Shorten the extension, mount on a flatter area of glass, and use in-camera stabilization and an appropriate frame rate for your road conditions.


Leave a comment